There’s nothing more annoying than a saddle that is constantly slipping down. Having your saddle at the desired height is one of the things that makes your ride comfortable. But what if your seatpost keeps slipping? We’ve got some tips for you!
Contents
Why does my seat post keep slipping
The main reason for a slipping seatpost is too little friction between the seatpost and seat tube. The first cause is a clamp that isn’t tightened enough. Because of the load on the seat post while cycling, it slowly slips down. This is a very common issue!
The seatpost clamp is the component on your bike that fixes the seat post in your frame. Seatpost clamps come in different diameters and with different closure mechanisms. For example some use a quick-release while others use an hex bolt.
If you tighten the seatpost clamp to the manufacturers specification and you still experience a slipping seatpost, you need to increase the friction between the seatpost and tube.
Overtightening the seatpost clamp might harm the components. Always pay attention to the maximum tightening torque. It’s a better option increase the friction between the components by using a Carbon Assembly Paste with micropearls. These micropearls (also called pellets) will add extra friction between your seatpost and tube, making it harder for your seatpost to slip.

How do I stop my seatpost from creaking?
A creaking seatpost is often caused by dirt, like sand or grit, which gets between your seatpost and clamp or seat tube. In this case it is best to remove your seatpost and seatpost clamp from the bike and clean them thoroughly. Also clean the inside of your frame where the seatpost slides in. After everthing is clean you can apply a layer of assembly paste between the components.
Carbon Assembly Paste can be used for carbon, but also for aluminium parts.
A non-greased bolt in the clamp might also cause creaking noises. When you remove the seatpost clamp apply a bit of Assembly Paste Pro or an All round grease on the thread.

Which grease should I use on my seatpost to prevent it from slipping?
For greasing your seatpost, we recommend to use an assembly paste with micropearls. These micropearls add extra friction which makes it easier for your seatpost to stay in place. Dynamic Carbon Assembly Paste is used by multiple pro teams and by multiple well-known bike manufacturers.
Although the name suggests that it is designed for usage on carbon parts, you can use Carbon Assembly Paste on seatposts of all materials, including carbon, aluminum and steel.
Seatpost is stuck - what to do?
In addition to adding extra friction, an assembly paste also prevents corrosion and seizing of metal. If you don’t use an assembly paste when assembling a metal seatpost into a metal frame, your seatpost might get stuck. But also a carbon seatpost can get stuck in a carbon frame, often leading to even bigger issues. Do not use excessive force to get your seatpost unstuck! Instead, you can try to loosen it by applying Mechanics Magic around the top of the tube.
How to fix a slipping seatpost?
Fix your slipping seatpost in just 4 simple steps. Repeat this during the winter- or spring check of your bike to remove dirt and keep your seatpost greased.
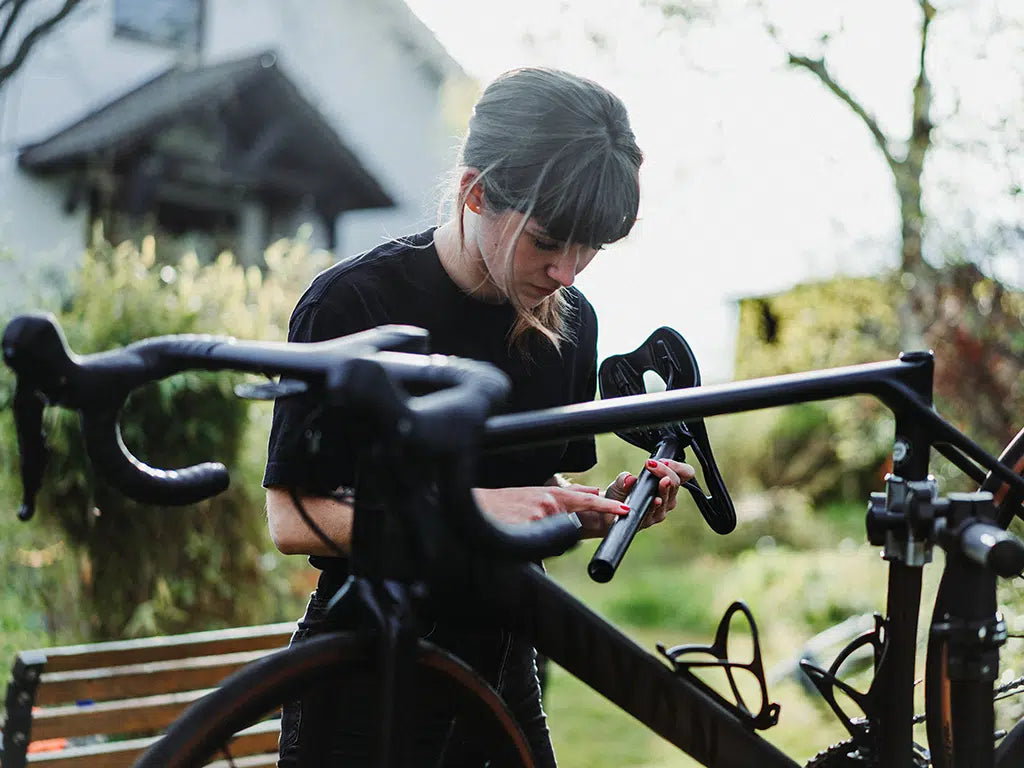
Step 1: Remove your seatpost (with saddle) and if possible, the seatpost clamp.
Take a note of the height of your saddle before you remove your seatpost, so you can install it at the same height later. You can remove your seatpost by unscrewing the lever which tightens the clamp.

Step 2: Clean your seatpost, clamp and top of seat tube.
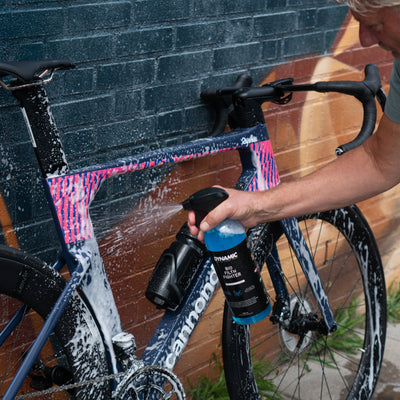
The top of the seat tube and clamp is an area where a lot of dirt accumulates. Clean these areas with a clean cloth and Bio Filth Fighter to get rid of sand and corrosion. Also wipe down the dirt, corrosion, and old grease off your seatpost with the cloth.

Step 3: Apply Carbon Assembly Paste
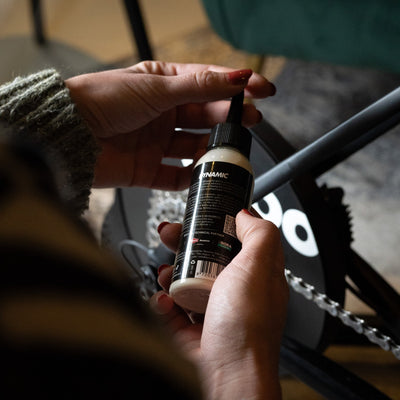
Apply a thin layer of Carbon Assembly Paste directly onto the seatpost at the area that goes into the seat tube or at the top of the tube. You can use your finger or a brush to distribute the assembly paste.

Step 4: Install your seatpost
The final step is to insert the seatpost and to close the clamp. Don’t over tighten the clamp as this might harm the components. Use a torque wrench to make sure you tighten the clamp at the recommended torque. Remove excess assembly paste with a clean cloth to prevent it from attracting dirt.

The expert in assembly compounds!
Dynamic is the expert when it comes to assembly compounds. Especially the Carbon Assembly Paste is one of the products we have a long history in. Dynamic is the official technical partner of several pro teams who use these products during the World Tour. Spot our Carbon Assembly Paste at the service course of BORA – hansgrohe, Alpecin-Fenix and Team Jumbo-Visma. With our special design of pellets in the assembly paste, we created a product that is 100% carbon safe and friendly for delicate materials.
Related blog posts
Dynamic is hét merk op het gebied van fietsonderhoud en innovatieve producten voor sportieve fietsers. Als partner van onder andere Visma | Lease a Bike en Alpecin - Deceuninck werken wij samen met de teams...
Dynamic is hét merk op het gebied van fietsonderhoud en innovatieve producten voor sportieve fietsers. Als partner van onder andere Visma | Lease a Bike en Alpecin - Deceuninck werken wij samen met de teams...
Dynamic is hét merk op het gebied van fietsonderhoud en innovatieve producten voor sportieve fietsers. Als partner van onder andere Visma | Lease a Bike en Alpecin - Deceuninck werken wij samen met de teams...


